本記事の 2017 年版を記載しましたのでご参照ください。
https://another.maple4ever.net/archives/2321/
Visual Studio Code Advent Calendar 2016 の 12日目です!
ここのところずっとウォッチしていました、Visual Studio Code(vscode)で利用可能な PHP サポート拡張になります “vscode-php-intellisense” が完成度をあげ、かなり良い感じになっています。 🙂
https://github.com/felixfbecker/vscode-php-intellisense
Advanced PHP IntelliSense for Visual Studio Code. In opposite to the included PHP IntelliSense and other PHP extensions, this uses an AST to parse the source code instead of relying on naive regular expression parsing.
少し前まで PHP をかくときは、Eclipse の PHP Developer Tools を使っていましたが、vscode-php-intellisense がほぼ同様の機能を実装しましたので、検証しながら乗り換えをしております。
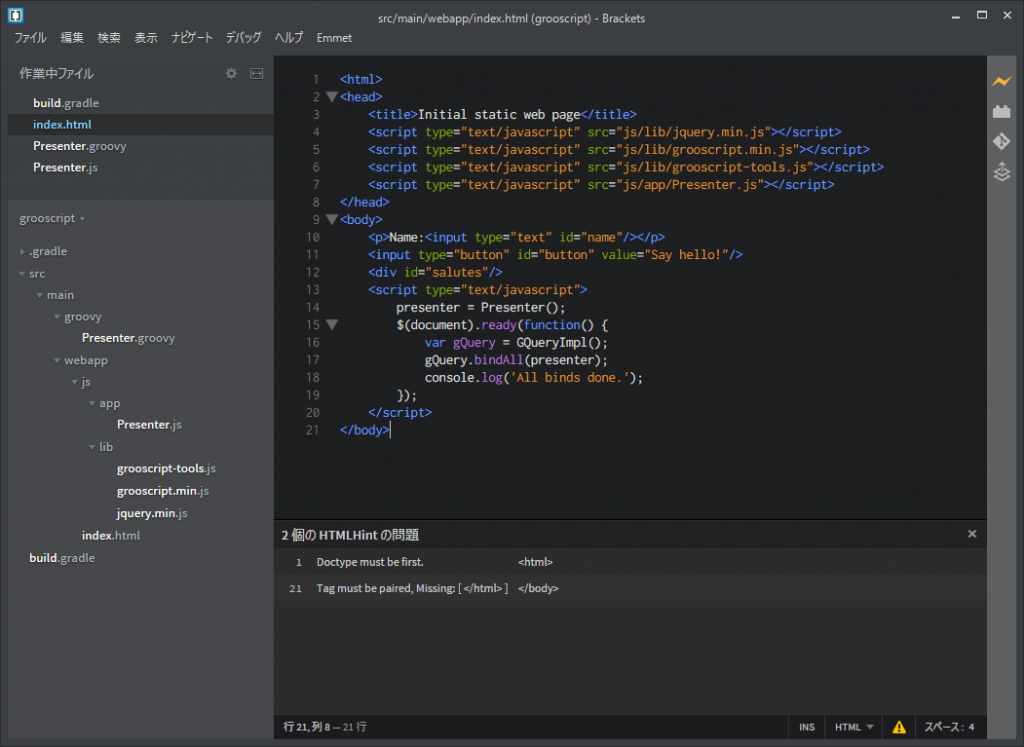
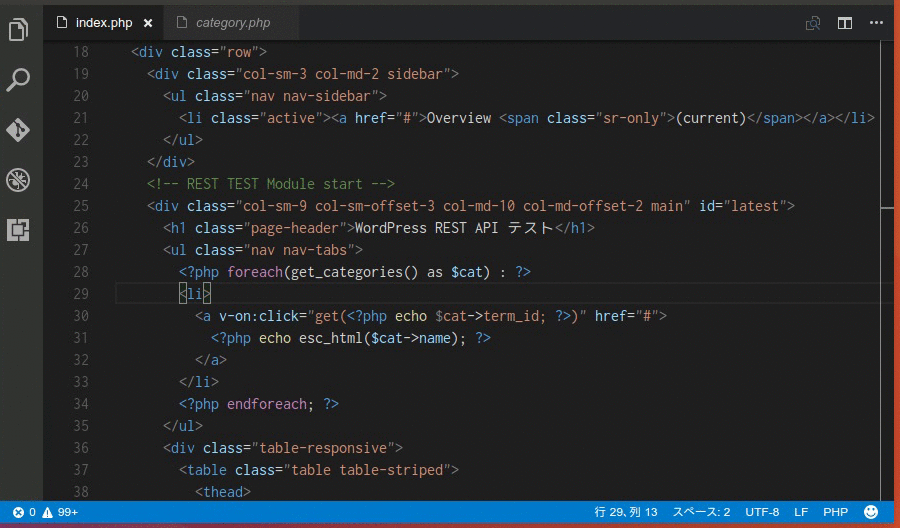
以下、vscode-php-intellisense で WordPress を読ませて動作させている様子です。(サイトの横幅の関係でスクリーンキャストがつぶれてしまいましたので、見づらい場合は画像をクリックしてフルサイズでご覧ください)
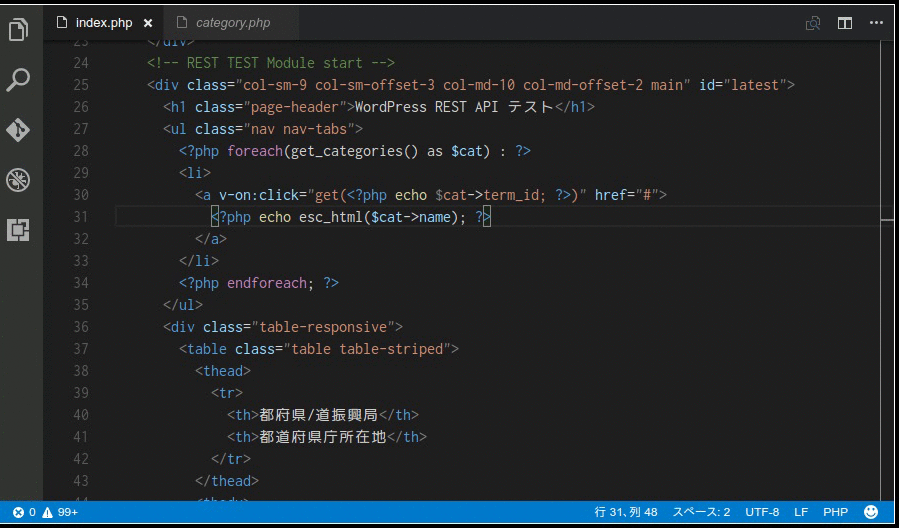
まずはエラーチェック。構文間違えなどをリアルタイムに指摘してくれます。
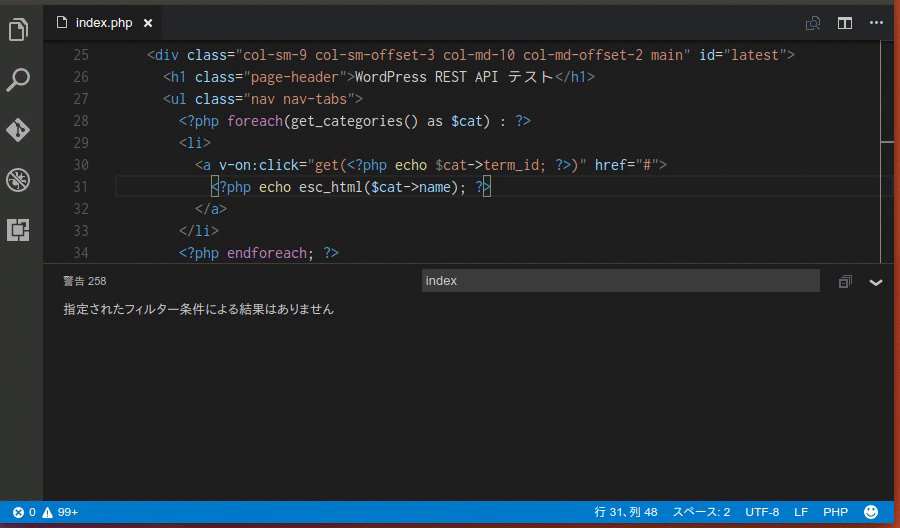
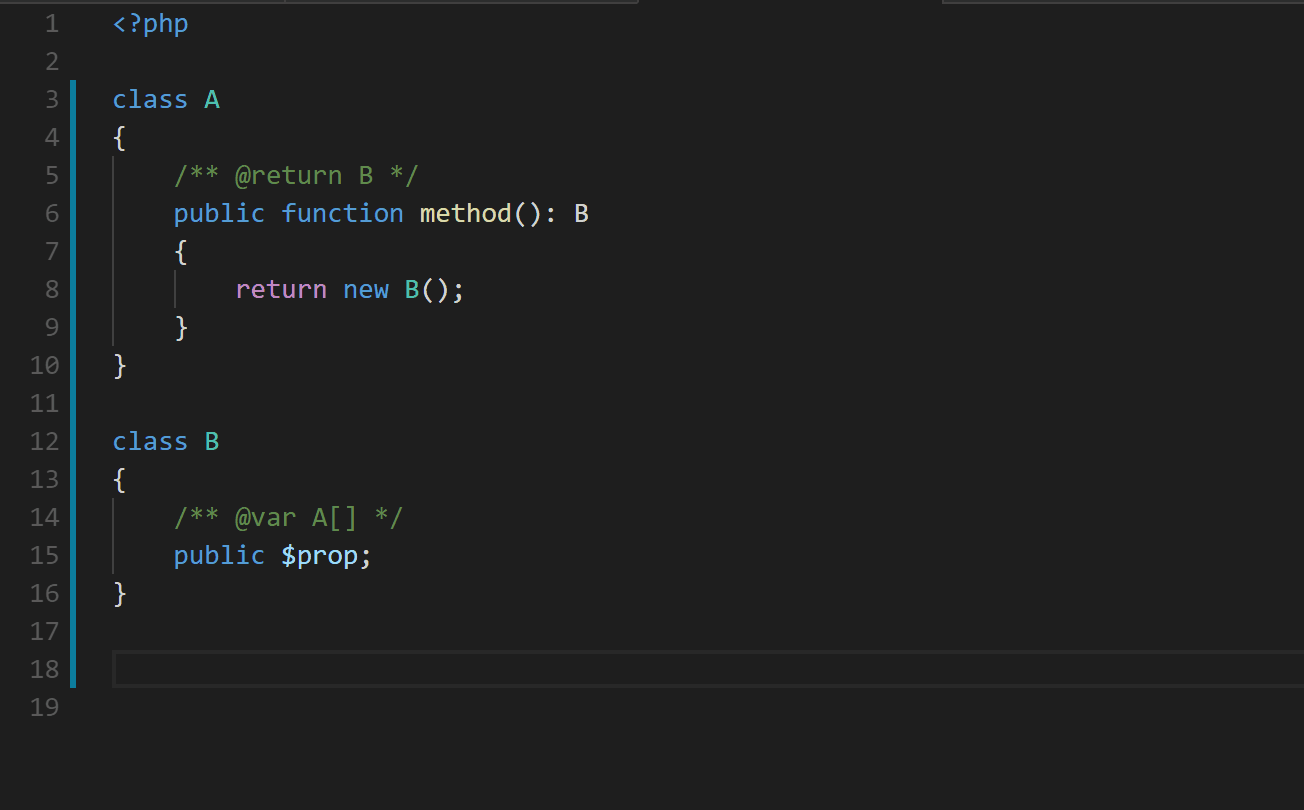
定義ジャンプ。PHPDoc が表示でき、関数・メソッドの定義位置に F12 でジャンプします。これがないと困ります 🙂

「定義をここに表示」と「参照先検索」機能。「ここに表示」はインラインで関数定義の内容をぱらっとみるとき便利です。また、PHP は動的型付け言語なので完全ではありませんが、呼び出し元検索があるのは嬉しい部分です。
最後は入力補完。 PHP の標準関数を補完しています。 PHPDoc を表示しながら、引数が入力できます。
ユーザ定義関数の補完も現在 master ブランチでは可能になっています。 コメントアノテーションもみて、参照を解決しているのが分かります。
https://github.com/felixfbecker/php-language-server/pull/165
Ecipse PDT や PHPStorm 並の機能です。すごい。
このペースでいきますと、おそらく年内にはユーザ定義関数の補完も実装が完了し使える形になると思います。つまりは、WordPress や baserCMS のテンプレートタグの補完が可能になります。 😀
ユーザ定義関数補完以外は既に動作するものが Marketplase にリリースされていますので、まずは導入してアップデートを楽しみに待ちましょう。 🙂
https://marketplace.visualstudio.com/items?itemName=felixfbecker.php-intellisense
Advanced PHP IntelliSense for Visual Studio Code.
In opposite to the included PHP IntelliSense and other PHP extensions, this uses an AST to parse the source code
instead of relying on naive regular expression parsing.
その他の機能のスクリーンキャストは以下で見ることができます。(ぼくのへたなアニメよりずっと分かりやすいのでぜひご覧ください…)
さて、この拡張は同じ作者の方がかかれている PHP 7 で実装された php-language-server を利用して動作しています。(このため、拡張を動作させるには vscode を動かすマシンに PHP 7 が導入され、パスが通っている必要があります)
この親となっている php-language-server ですが、これは Microsoft Language Server Protocol の実装です。
Language Server Protocol は、エディタ(IDE)と言語解析器をつなぐための共通プロトコルですので、今後 php-language-server は vscode 以外のテキストエディタと接続できる可能性があります。 (既に Eclipse Che が PHP サポートの実装に php-language-server を使っています)
逆に Visual Studio Code から見た場合、新しく追加された言語サーバーに接続することで、どんどん対応言語を増やすことができる仕組みです。(現在 vscode は Language Server Protocol クライアントのリファレンス実装のような形になっています)
vscode と Language Server Protocol を使って対応されている言語の一覧は以下で見ることができます。
https://github.com/Microsoft/language-server-protocol/wiki/Protocol-Implementations
Language Maintainer Repository PowerShell MS VS Code PowerShell extension C++ MS VS Code C++ extension C# OmniSharp Many integrations, repository JSON MS Bundled with VS Code CSS/LESS/SASS MS Bundled with VS Code Xtext language framework Eclipse Eclipse Xtext Crane PHP HvyIndustries VS Code Extension PHP Felix Becker php-language-server Haxe Dan Korostelev (@nadako) VS Code Haxe extension Java (javac) @georgewfraser Javac based Java support RAML RAML Workgroup raml-language-server Work in Progress API Elements Vincenzo Chianese(@XVincentX) vscode-apielements groovy Palantir groovy-language-server Java (Eclipse) Eclipse, RedHat java-language-server, becoming Eclipse JDTLS OCaml/Reason freebroccolo ocaml-language-server Go Sourcegraph sourcegraph-go Rust Jonathan Turner rustls Scala Iulian Dragos dragos-vscode-scala Polymer Polymer Team polymer-editor-service
まだまだ未完成のものもありますが、PowerShell などは完成形になっていてかなり使いやすいです。 標準の PowerShell ISE より良いかも?
というわけで、このような言語サポートも手伝って Visual Studio Code は愛用のエディタになりました。開発も活発なので今後も楽しみです。 😀